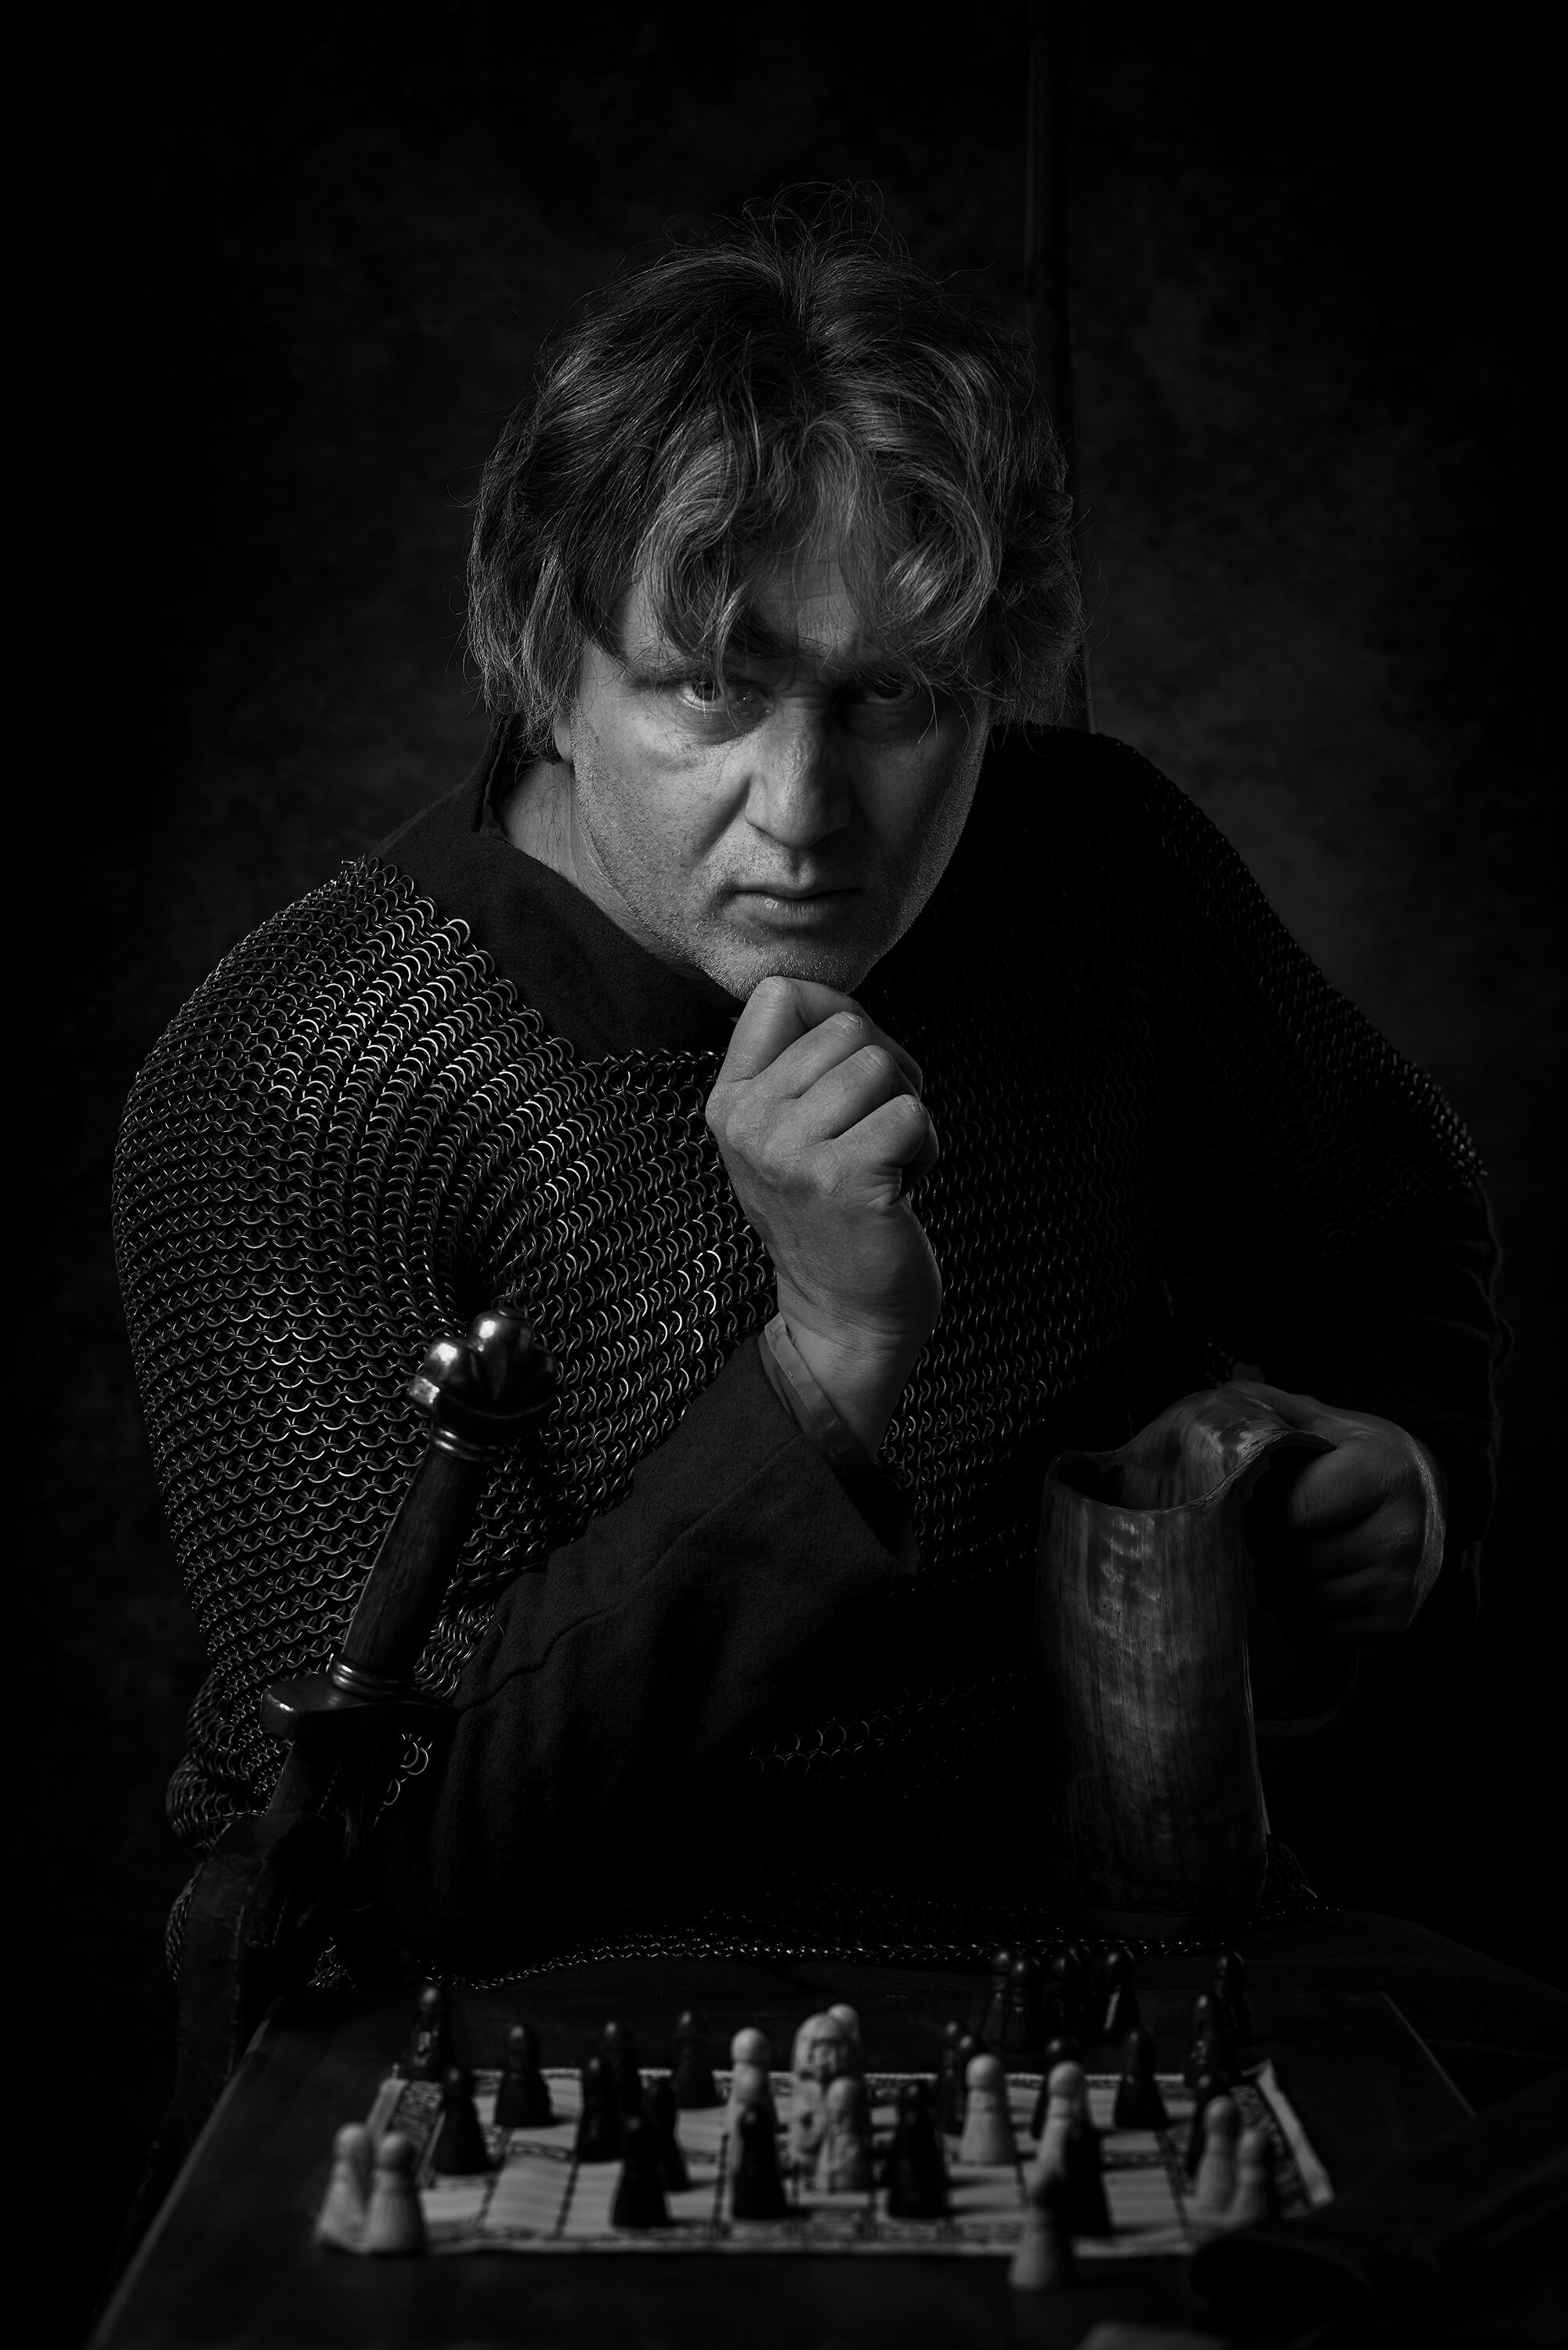
Re-enactment (part 2) Creating a photo
In the first post, I wrote about the years I did re-enactment. Now in this post I talk about creating this photo.
This photo comes form watching Graham Smith’s MPA Fellowship qualification. Graham put together one of the best qualification panels I have ever seen. He chose an interesting theme, where he got various members of the public to pose under a shower, whilst he took there photo. To be able to put a panel in for the MPA, it has to be something that has been sold to the public or for promotional purposes. So he had actually sold the images he took of the people who posed for him a portrait.
This got me thinking. What kind of project could I do, which would be similar in scope but completely different conceptually. So I decided to create a project, which I hope once day to enter as my MPA Associate panel. Because I have been involved with Re-enactment, it seems practical that this would be an ideal subject for me to focus. upon. So other the coming months, I hope to find willing Re-enactors of any period, who would like their portrait taken. The will receive a framed print and whilst I don’t yet know the price, it should be well worth the effort for what they are getting.
So, after deciding this. I thought I had better create an image that I can used to sell the idea. Of course we are currently in lock down, so the only person I can use is me.
So to create this photo. I used my old re-enactment kit, plus sword, horn flagon and in the background almost lost long bow. In front I also had a small table and I used a viking game, which I have had in my loft for 20 years or so.
Of course, I am a little bit fatter than I was 20 years ago and whilst I used to wear a gamberson or padded tunic, with my mail, that wouldn’t work now, so I just had a normal tunic and under shirt, along with the mail.
Camera
D800
Zeiss 85mm f1.4 Milvus
Settings
Shutter speed 1/250
Aperture f/8
ISO 125
Lighting
3 x XMT-500
1 xKeylight + Diffuser
2 x Gridded stip box
1 x white foam bord as white refelctor
I went to my standard lighting setup of one key light, along with 2 gridded strip boxes. I know this setup works well. I didn’t use my biggest diffuser with my key light, as I wanted some shadow and I placed it at 45° degrees to achieve Rembrandt lighting.
Pose
The hardest part of getting this show was getting the right facial expression. The pose came quite naturally and I could see instantly it would work. Getting the right facial expression was harder. I wanted something confident but also slightly angry. I tried quite a lot of different expressions but the one you see worked best. I also hunched over a little more than most of the photos and had my head further down but looking up with my eyes, which worked well.
Getting the hands right is always a challenge. I know the thoughtful hand look works and I thought with the flagon in my hand that would also help.
Editing
A photo like this is made in the editing. It looks decent, without an edit but to get this photo right, took well over and hours edit. I did most of the edit in Capture One Pro and finished off in Photoshop.
I had always wanted the image to be in black and white and C1P has a very good conversion tool. I also wanted a lot of contrast, so spent a lot of time, just fiddling around with contrast, brightness, curves, clarity and adding layers, to slightly change things, which really turned the image into what you see before you.
Finally I exported into Photoshop and made a few miner tweaks.
So, generally this is a very good photo but I maybe could have don’t a couple of things better. I am not sure that shooting at f/8 was right and if I redo the photo, I might go higher, trying to keep the game in focus (this may or may not work). I could also have moved the strip box on the right around a little more, which gives a better light (In fact I did on a later photo but I preferred the look of this photo more).
What works best in this photo is my look, which just gets the amount of menace right, not looking too comical. I also think I did a good job of the editing, particularly the black and white conversion. I also think I did quite a good job of editing my wrist and neck cuffs as well, which stood out light a sore thumb, to begin with.


